Manage GWA Purchases
To view and manage Purchase for GWA (Gold Wadiah Account)
- View GWA Purchases
- Purchase Detail
- Payment
- Bonuses & Incentives
- Customer
- Audit Trail
- Add New Purchases
- Add Sales Incentives (Manual Entry)
- Cancel Purchase
View GWA Purchases
To View the list of GWA Purchases,
- Click GWA
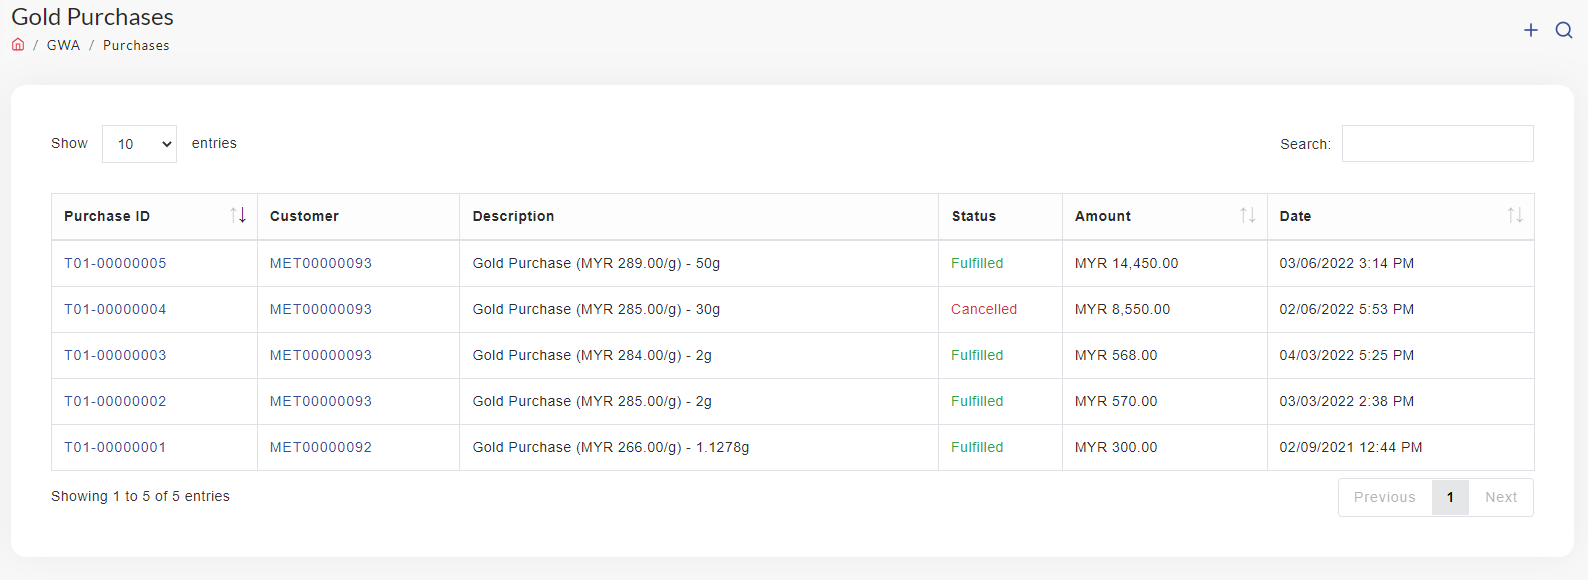
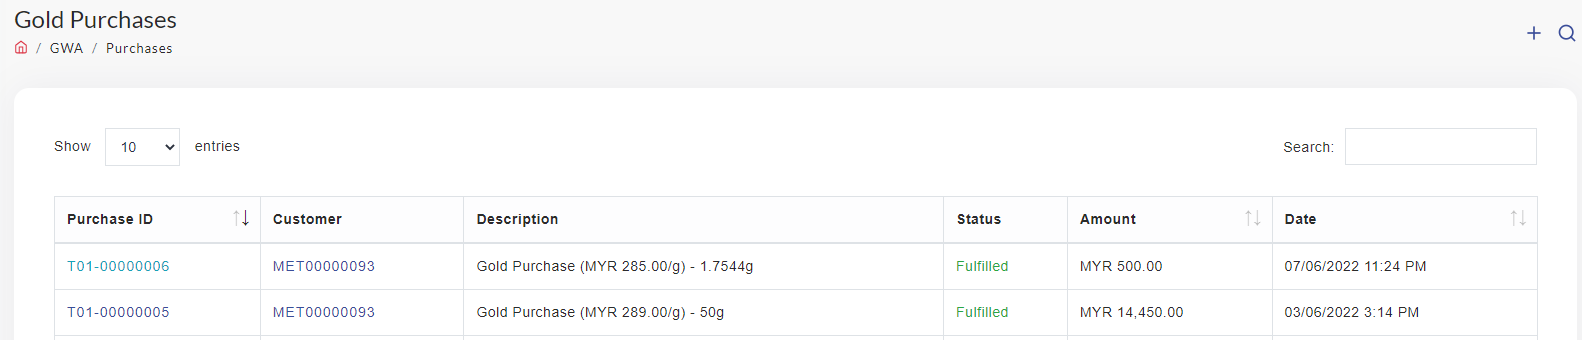
- Click Purchases. The list of the Gold Purchases (GWA) will be display as below:

- To view the Purchase detail, Click on Purchase ID (highlighted in blue)
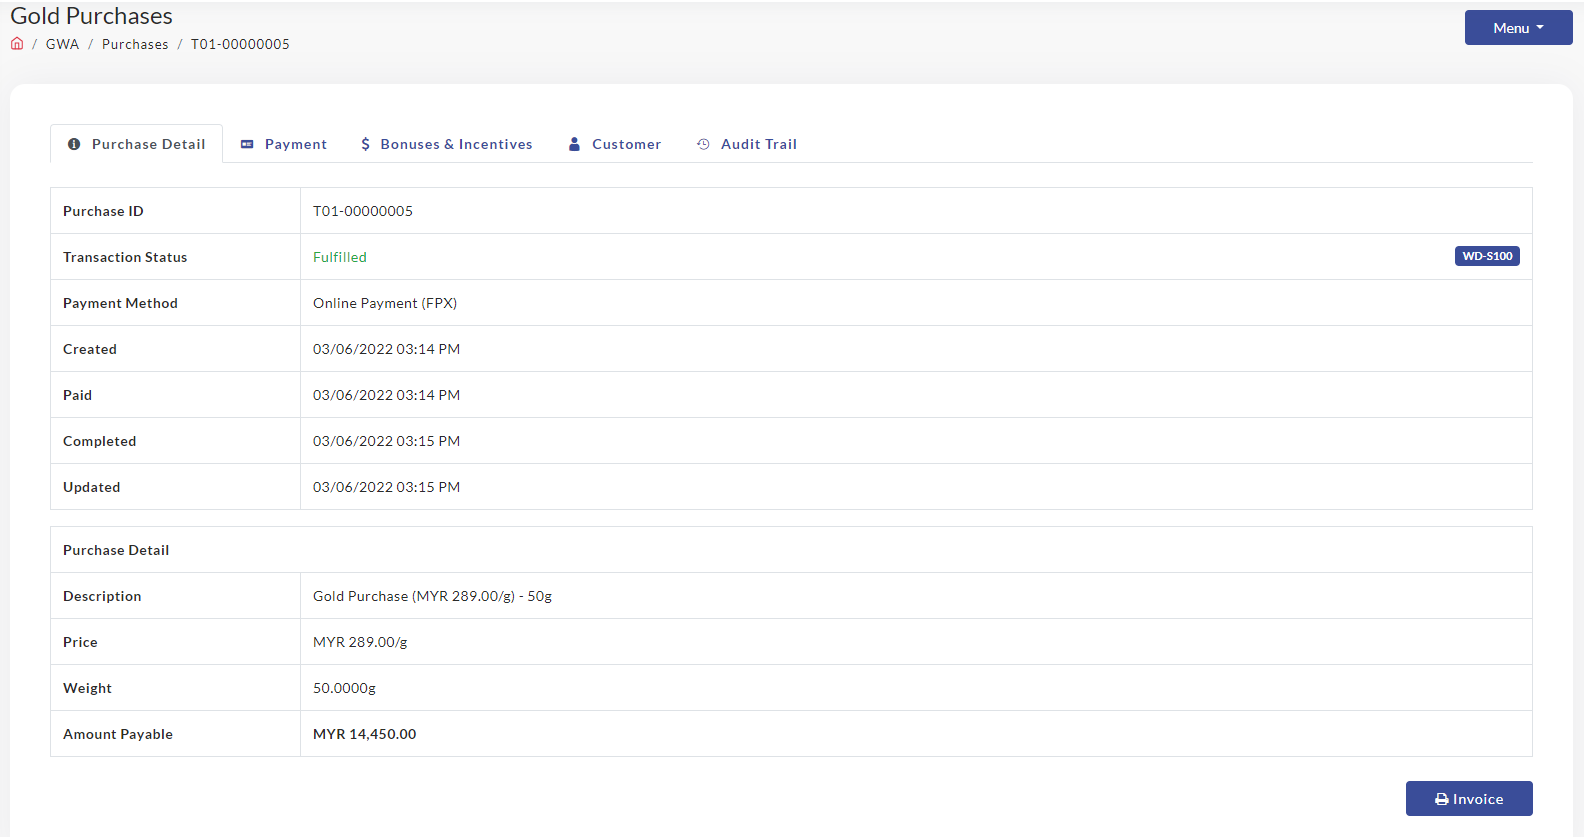
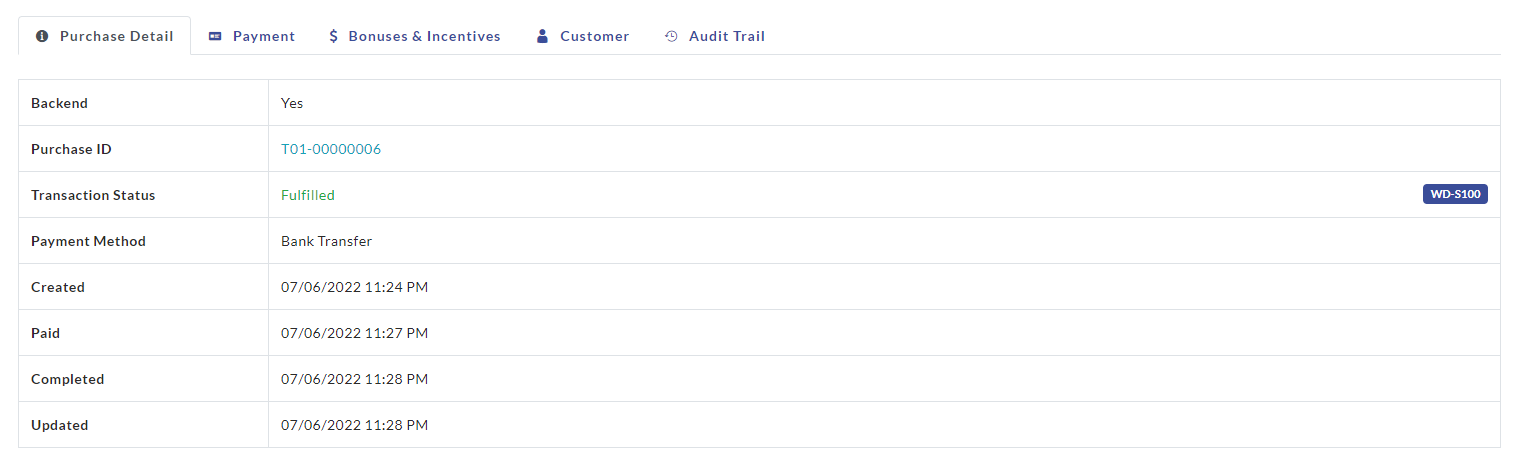
- The Gold Purchase detail will be shown as below. There are 5 tabs in Gold Purchase detail which is Purchase Detail, Payment, Bonuses & Incentives, Customer and Audit Trail will be explain in next page.

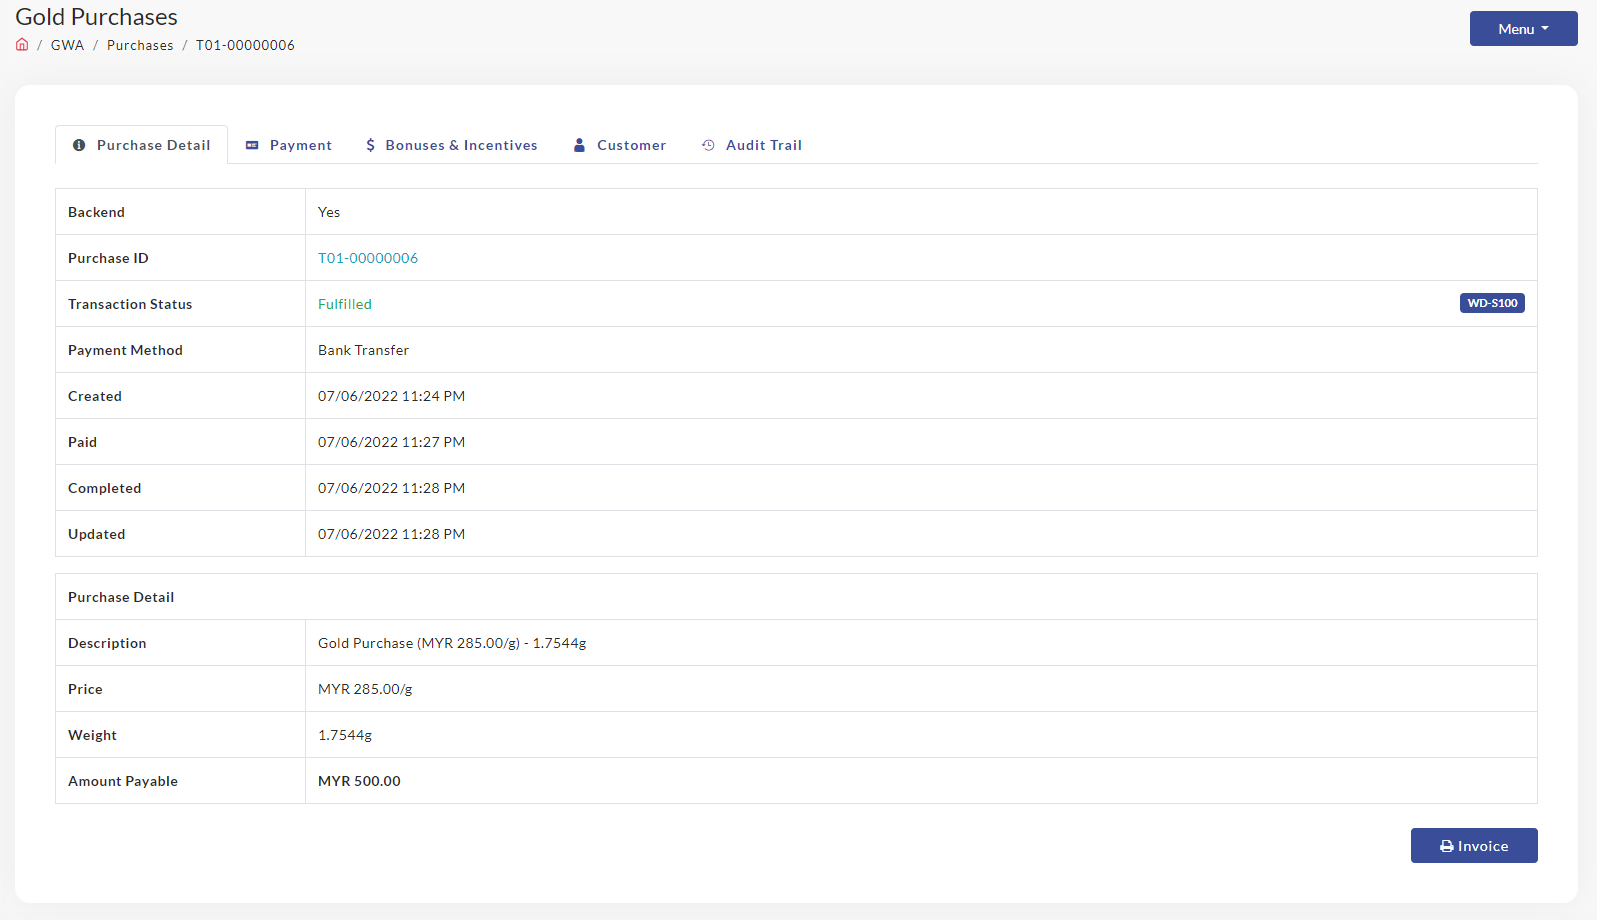
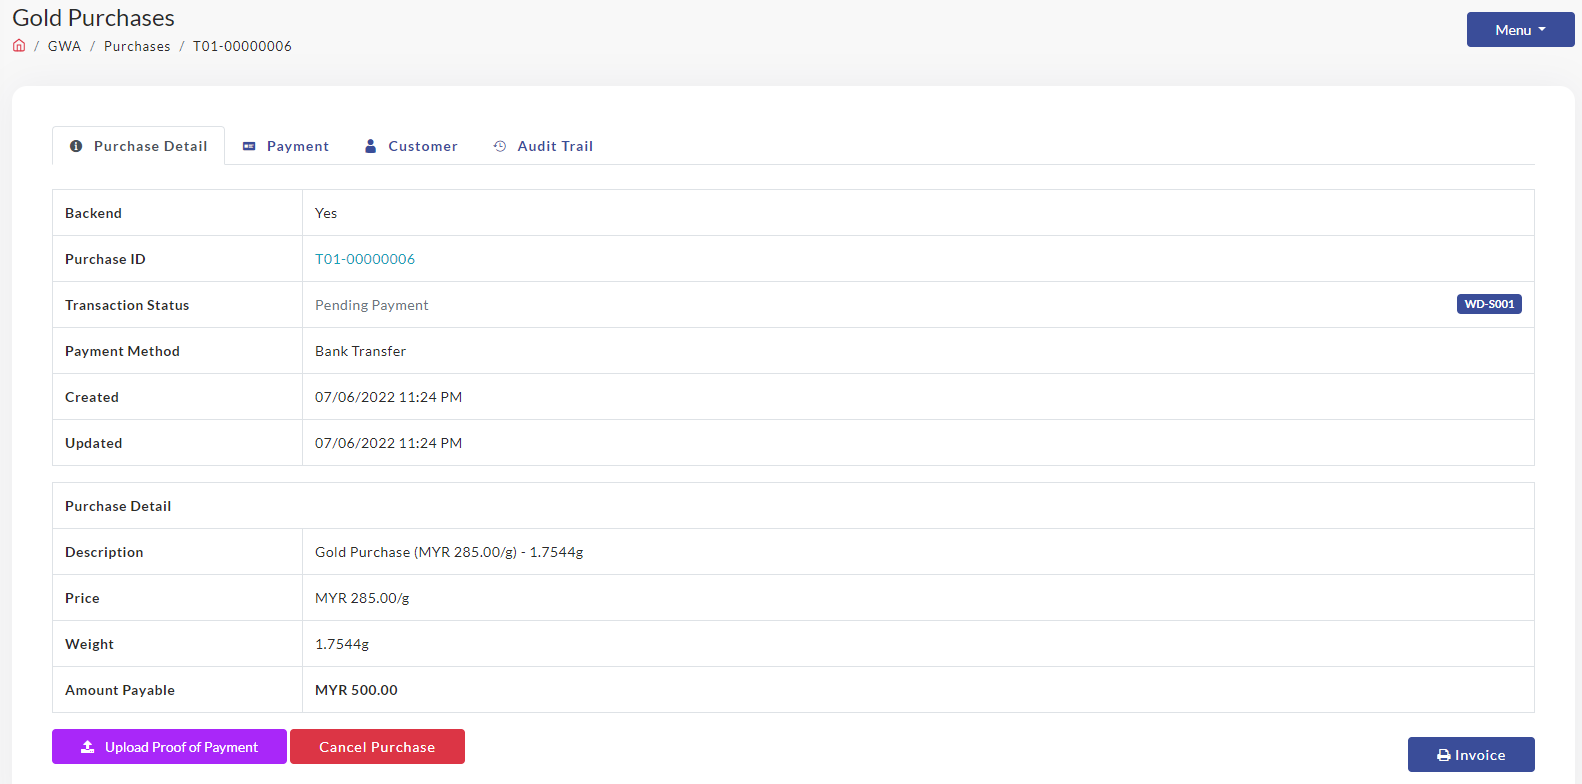
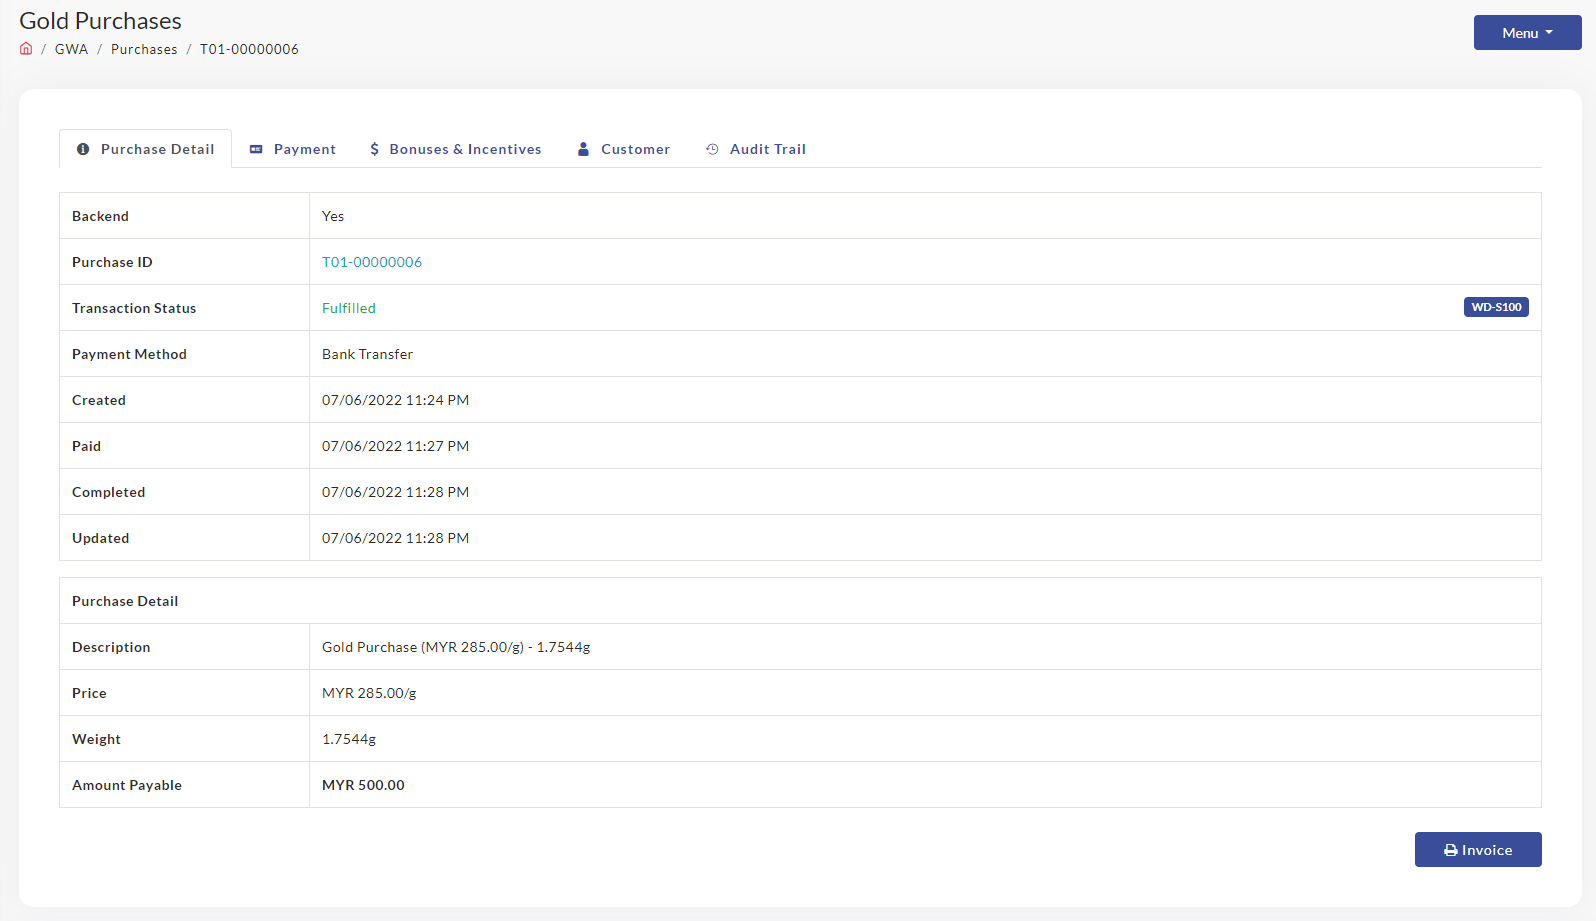
Purchase Detail
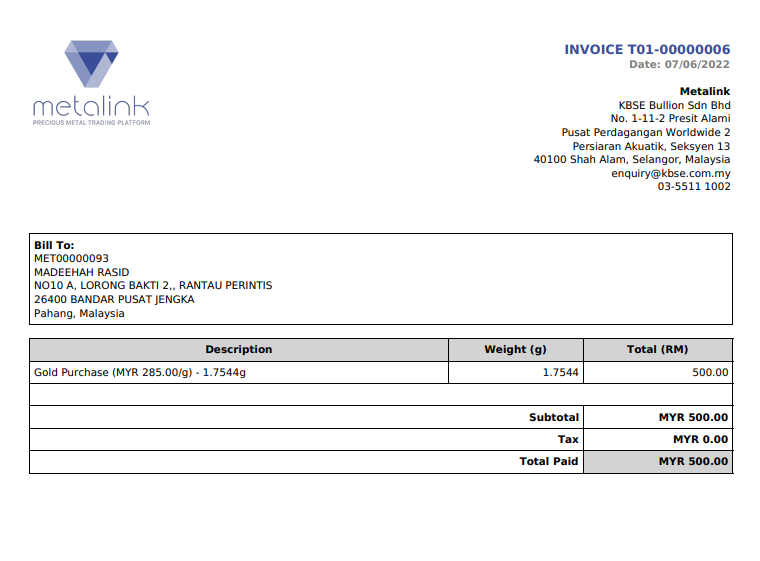
Purchase Detail will show all the detail for GWA. Admin can print the Purchase Invoice by click on Invoice button at the bottom of the page.
The Invoice will appear be display as below.
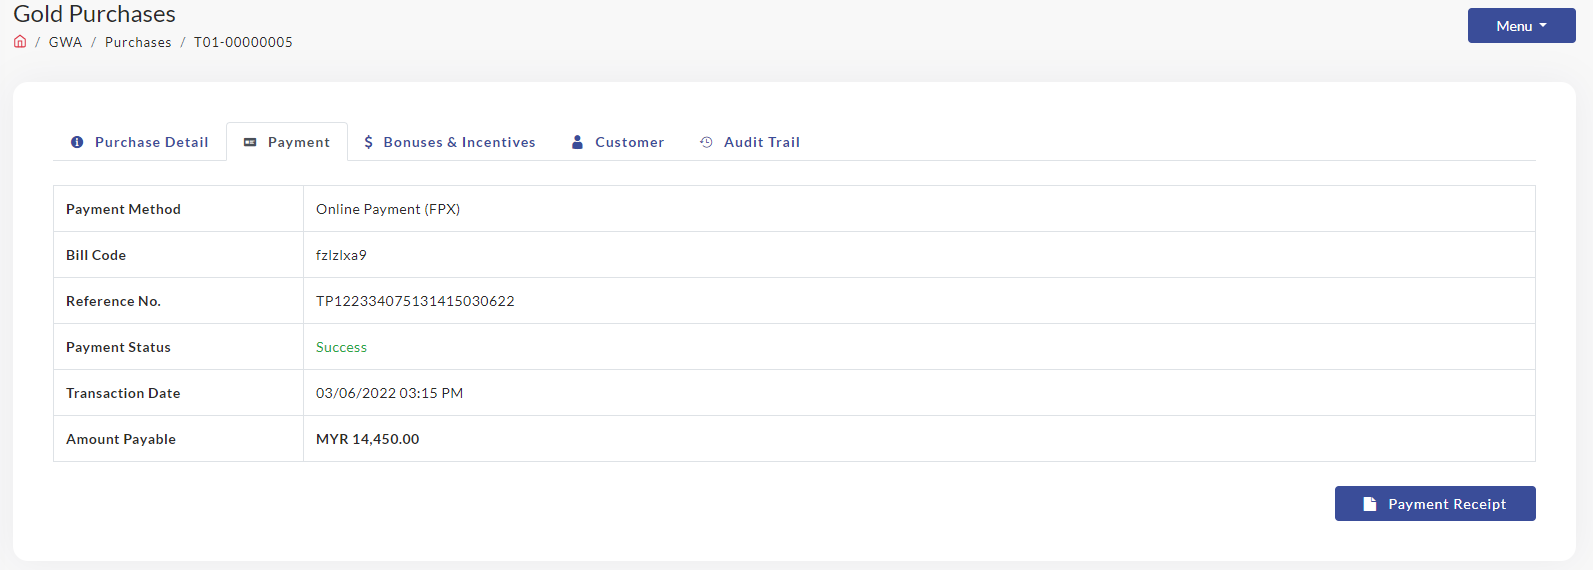
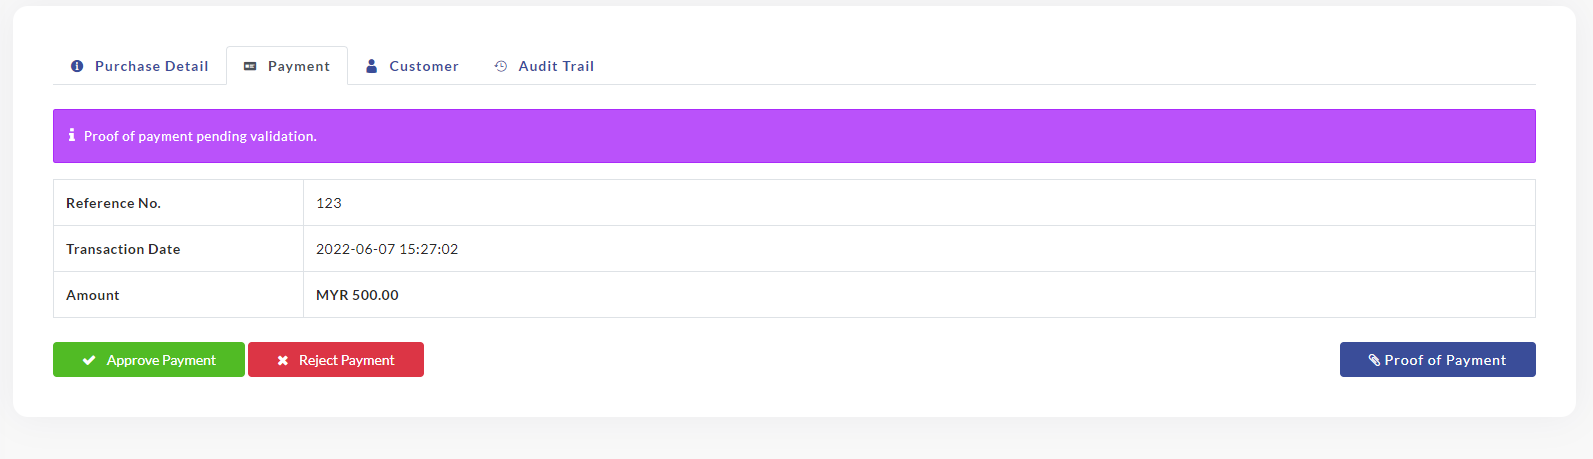
Payment
To view the Payment detail, just click the Payment tab. Admin can check all the detail regarding Payment and also the Payment Receipt (if Applicable)
Bonuses & Incentives
Click tab Bonuses & Incentives to get the detail about Incentives. All the detail will be display as below. Admin can delete the incentives in case there is error to the amount of incentives display.
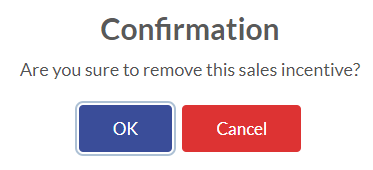
- To Remove/ Delete the Incentives, Click on

- The Confirmation pop up will appear before the delete process occur and to proceed, just click OK

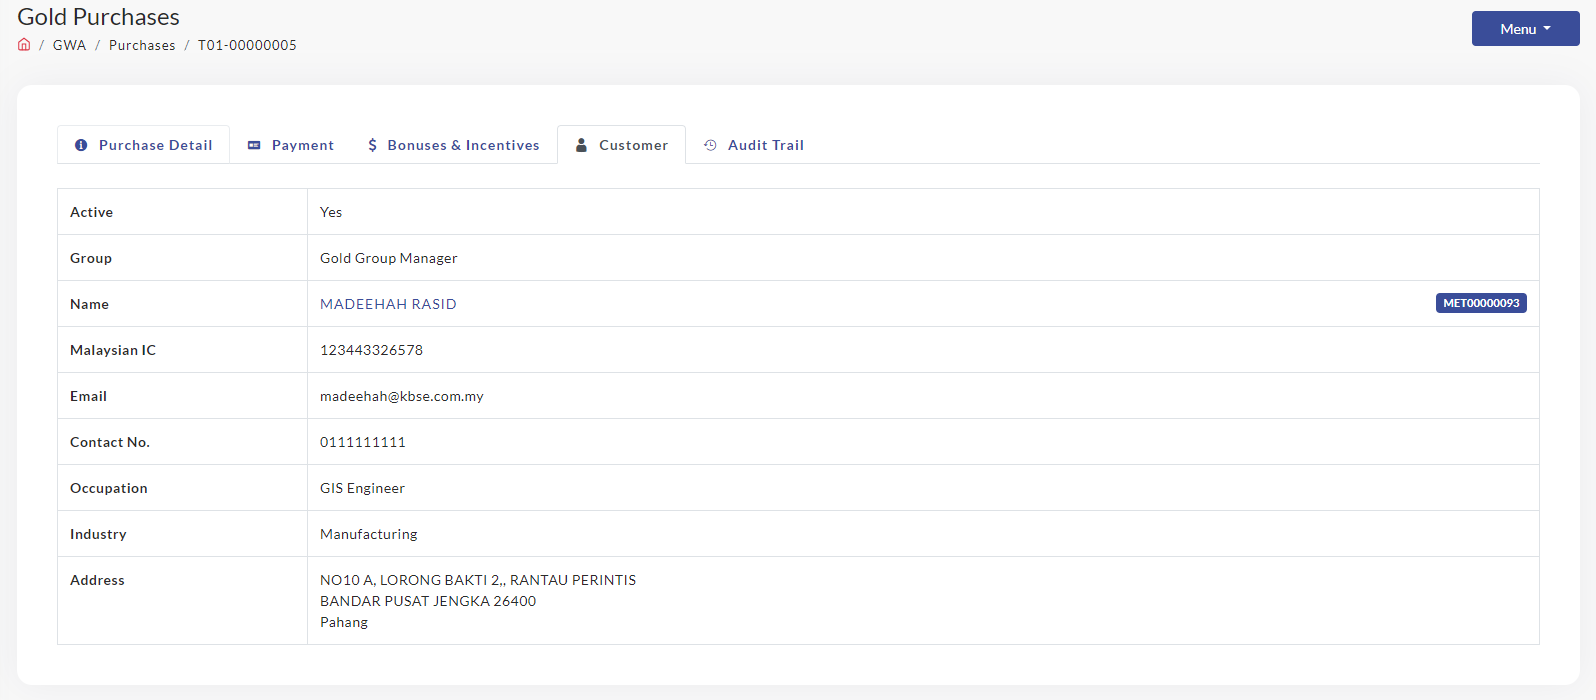
Customer
All the customer detail will display in Customer tab.
Audit Trail
Audit Trail will display all the customer activity in the system. All the changes will be log in audit trail. 
Add New Purchases
To add new purchases,
- Click GWA> Purchases
- Click +
- The Purchases page will be display. Fill up all the required information and Click Create Purchase.

- The Transaction Status will be display as Pending Payment. To proceed the next step, click Upload Proof of Payment.

- The pop up Upload Proof of Payment will appear. Fill up the required information and click Upload

- The Transaction Status will change to Awaiting Payment Validation.

- The next step is go to Payment tab, Click Approve Payment.

- The Confirmation pop up will be appear. Click OK

- The Payment Validation pop up will appear. Click Close

- The Transaction Status will changes to Fulfilled.

Add Sales Incentives (Manual Entry)
To Add the Sales Incentive
- Click on Purchase ID which has Fullfilled Status.

-
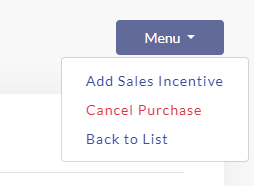
Click Menu

- Click Add Sales Incentive

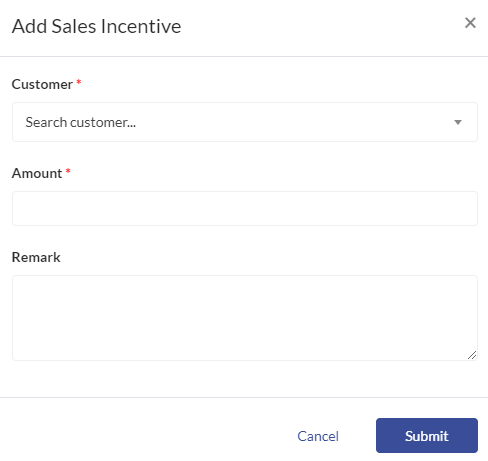
- The Add Sales Incentive pop up will appear. Fill up all the required information. Click Submit

-
The notification Sales Incentive record added will appear at the top of page.

-
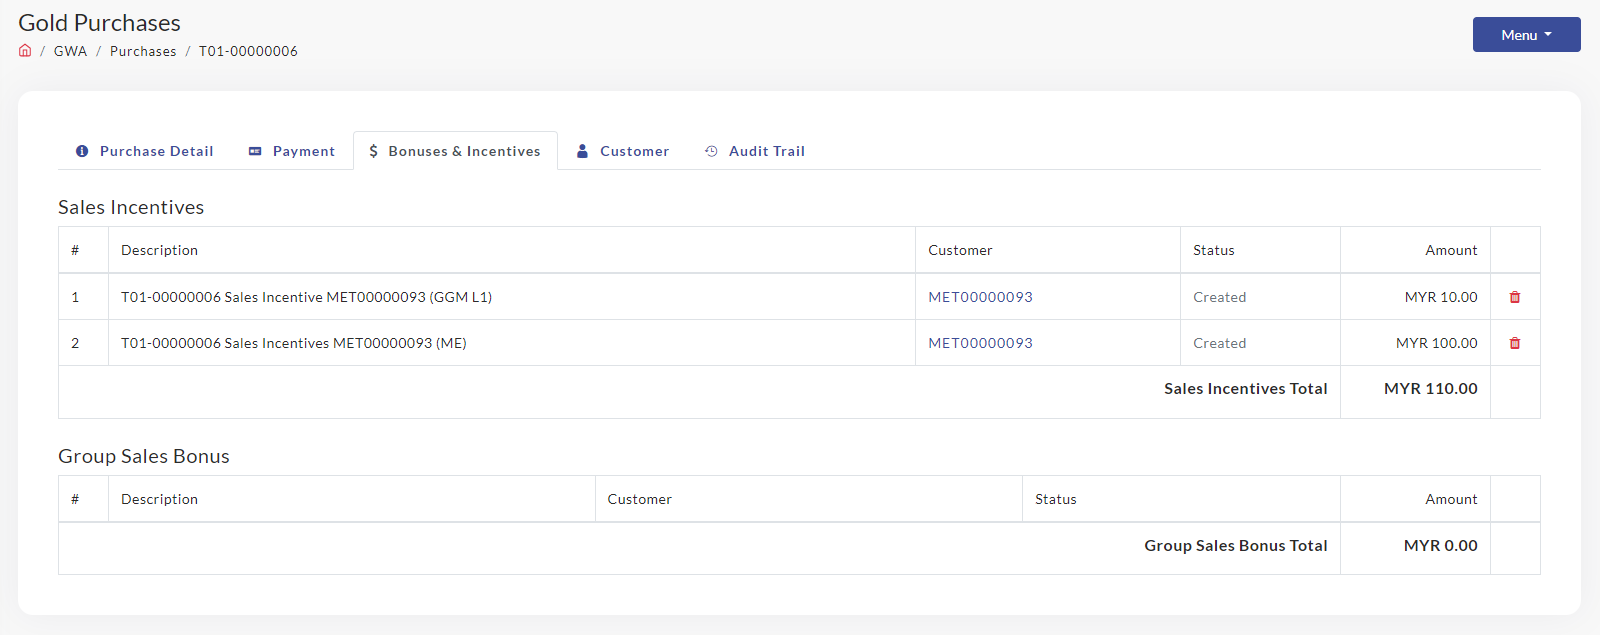
To check the record, click Bonuses & Incentives tab and the record will appear as below. The transaction which have been add manually will be record as ME (Manual Entry)


Cancel Purchase
To cancel Purchase,
- Click Menu, Click Cancel Purchase

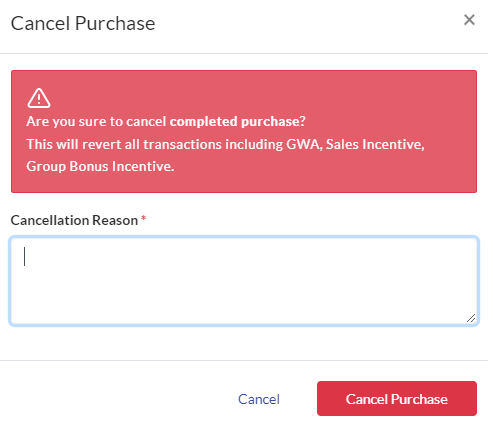
- Cancel Purchase pop up will appear. Admin need to fill the Cancellation Reason and Click Cancel Purchase.

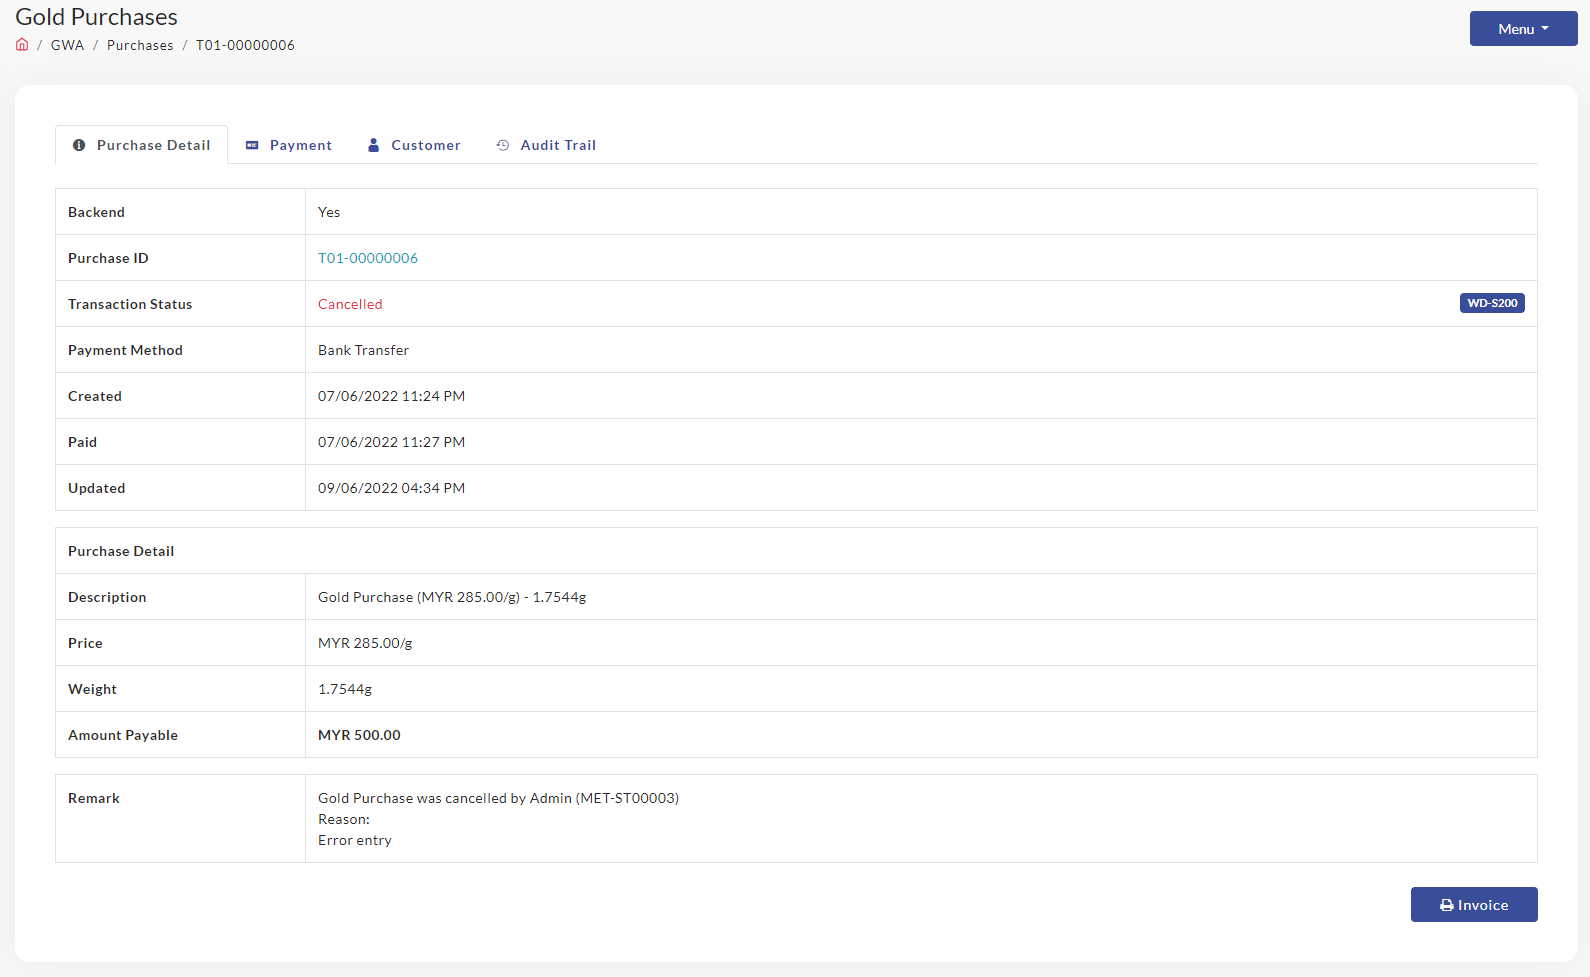
- The Transaction Status will change to Cancelled.